
Introduction to Studio
Studio is only available with a Premier plan
Suno Studio is a groundbreaking web-based Generative Audio Workstation (or GAW) that merges traditional Digital Audio Workstation functionality with AI-powered music creation. Its multitrack interface lets you layer, arrange, edit, extract stems, record audio, and adjust tempo with complete creative control. You can instantly generate AI stems—basslines, percussion, melodies, and more—that seamlessly integrate with existing songs, eliminating the need for sample libraries or additional musicians. Whether you're experienced with Digital Audio Workstations or just starting out, this guide will have you making music in Studio in no time!
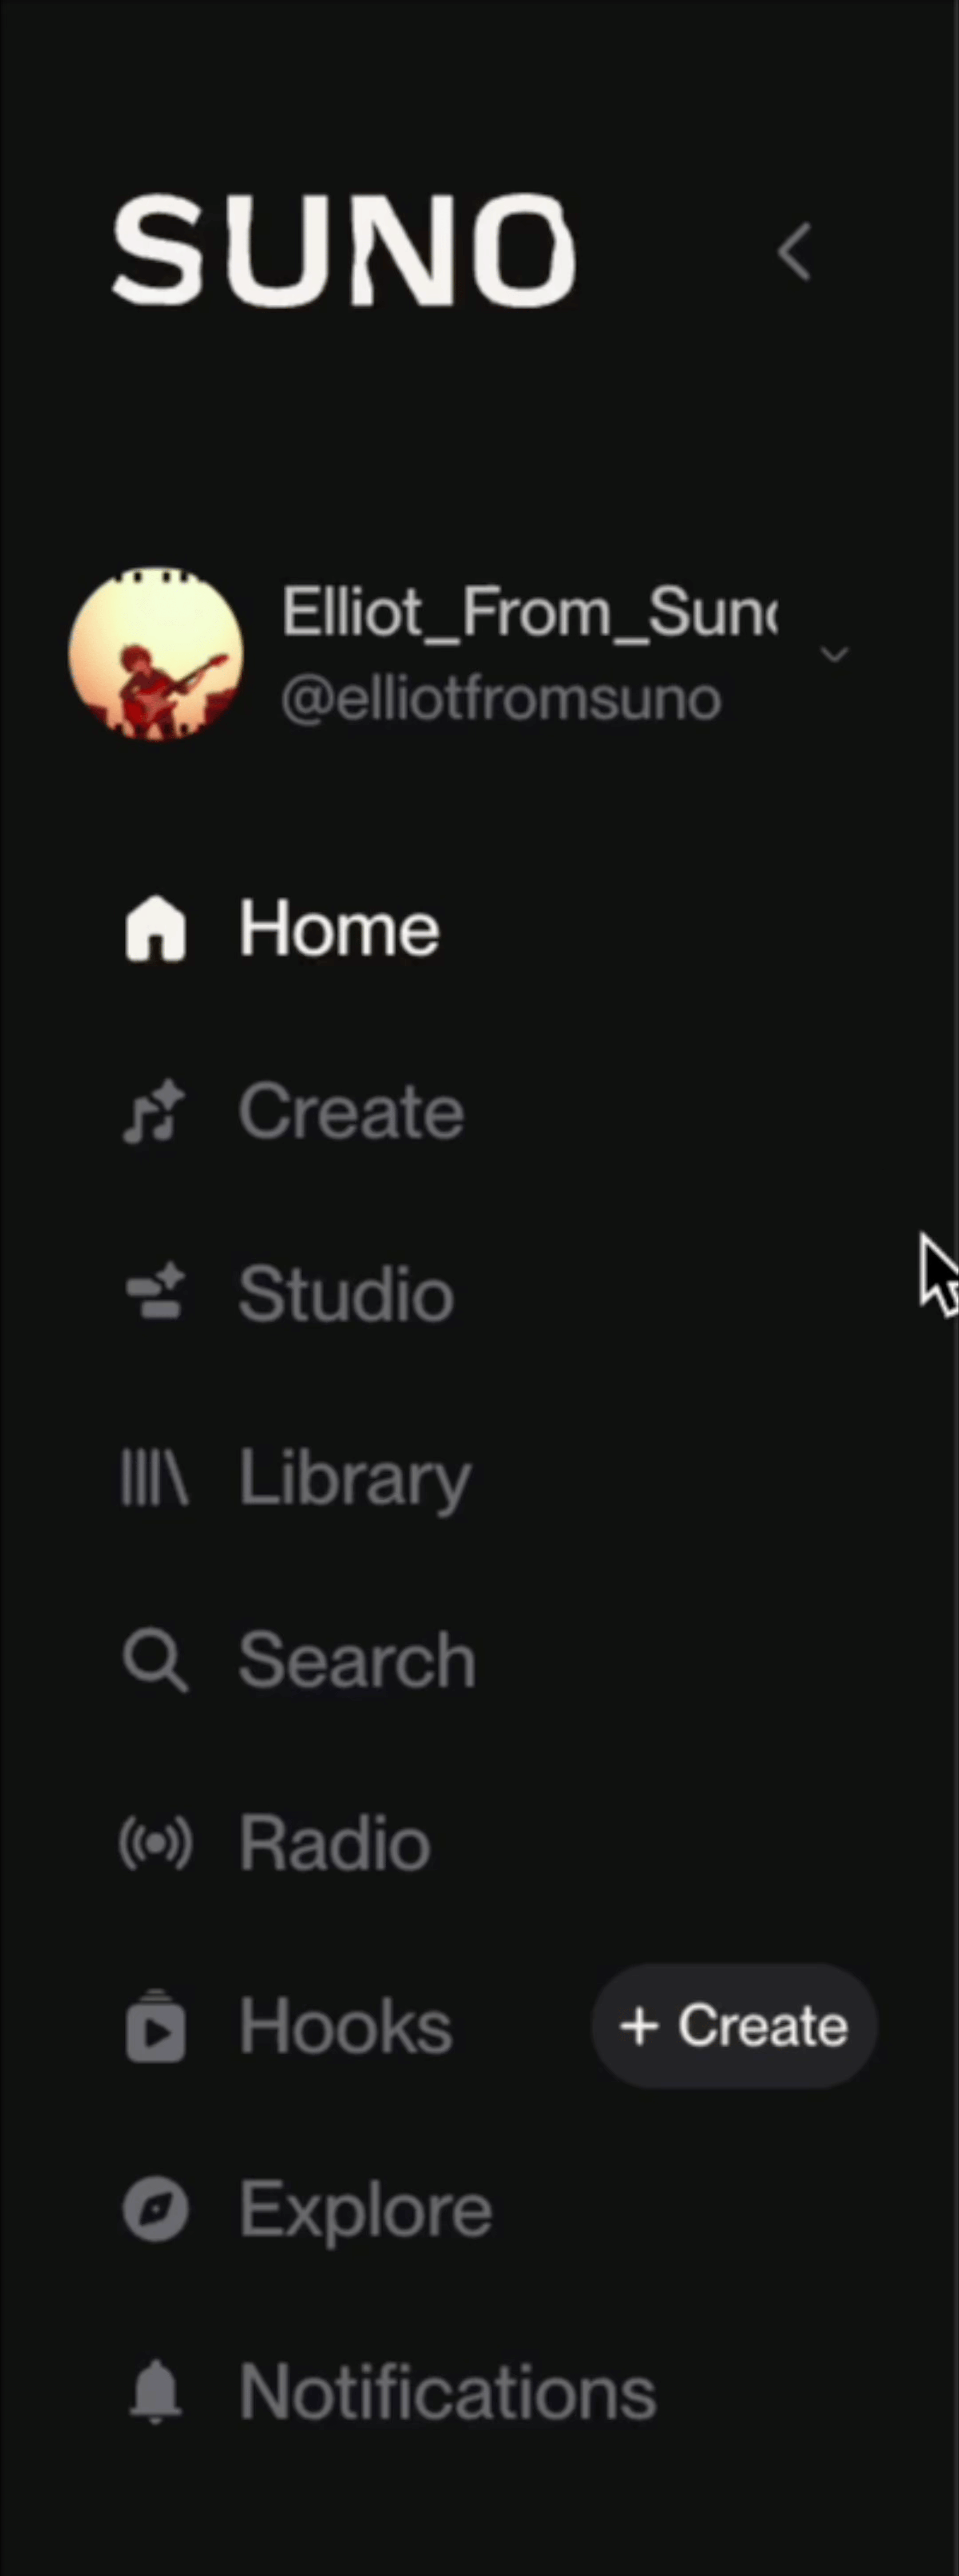
To get started with Studio, select the Studio icon under the Create icon in the lefthand panel.
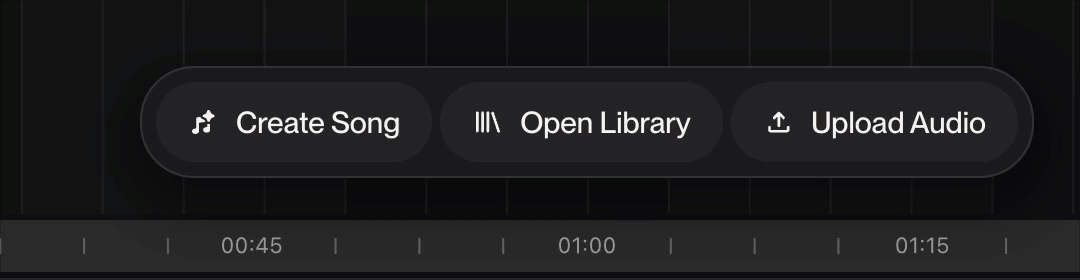
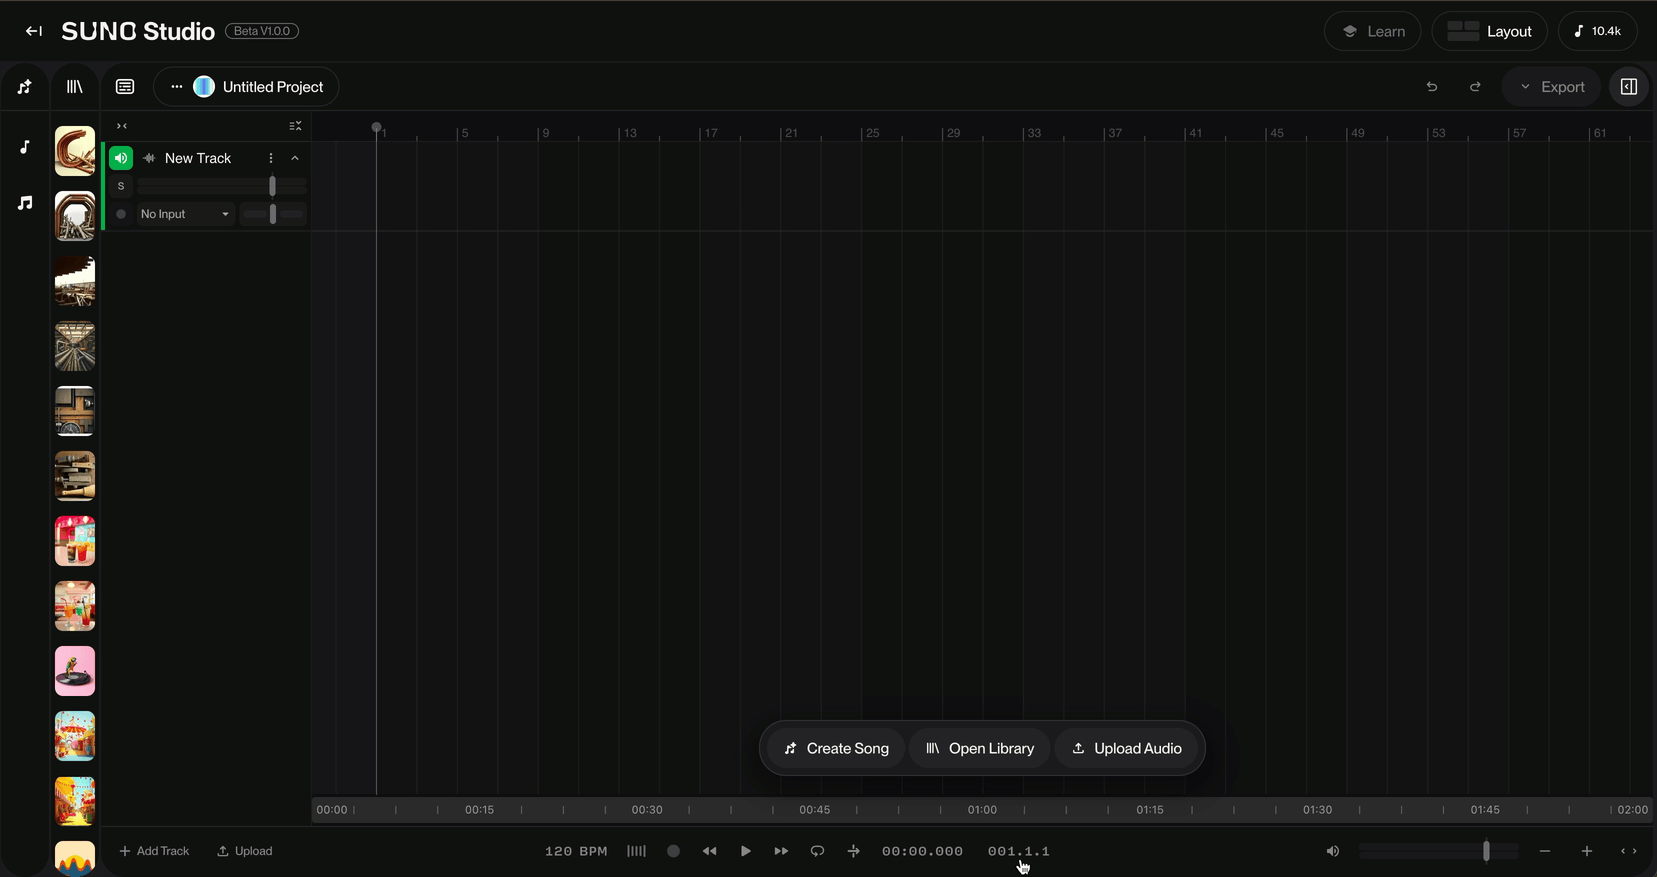
Once Studio opens, you'll see what's called the Context Bar at the bottom of the Timeline. The Contextualize Bar changes depending on what is present on the Timeline. The Contextualize Bar upon opening a Project in Studio will allow you to open the Create Panel to Create a Song as you would in Create. Open Library opens the Library Panel so you can easily access songs you've already made to import into Studio. And Upload Audio will allow you to upload audio from your device onto the Timeline.
Okay, let's make some music! Let's use the Contextual Bar to grab something from the Library.
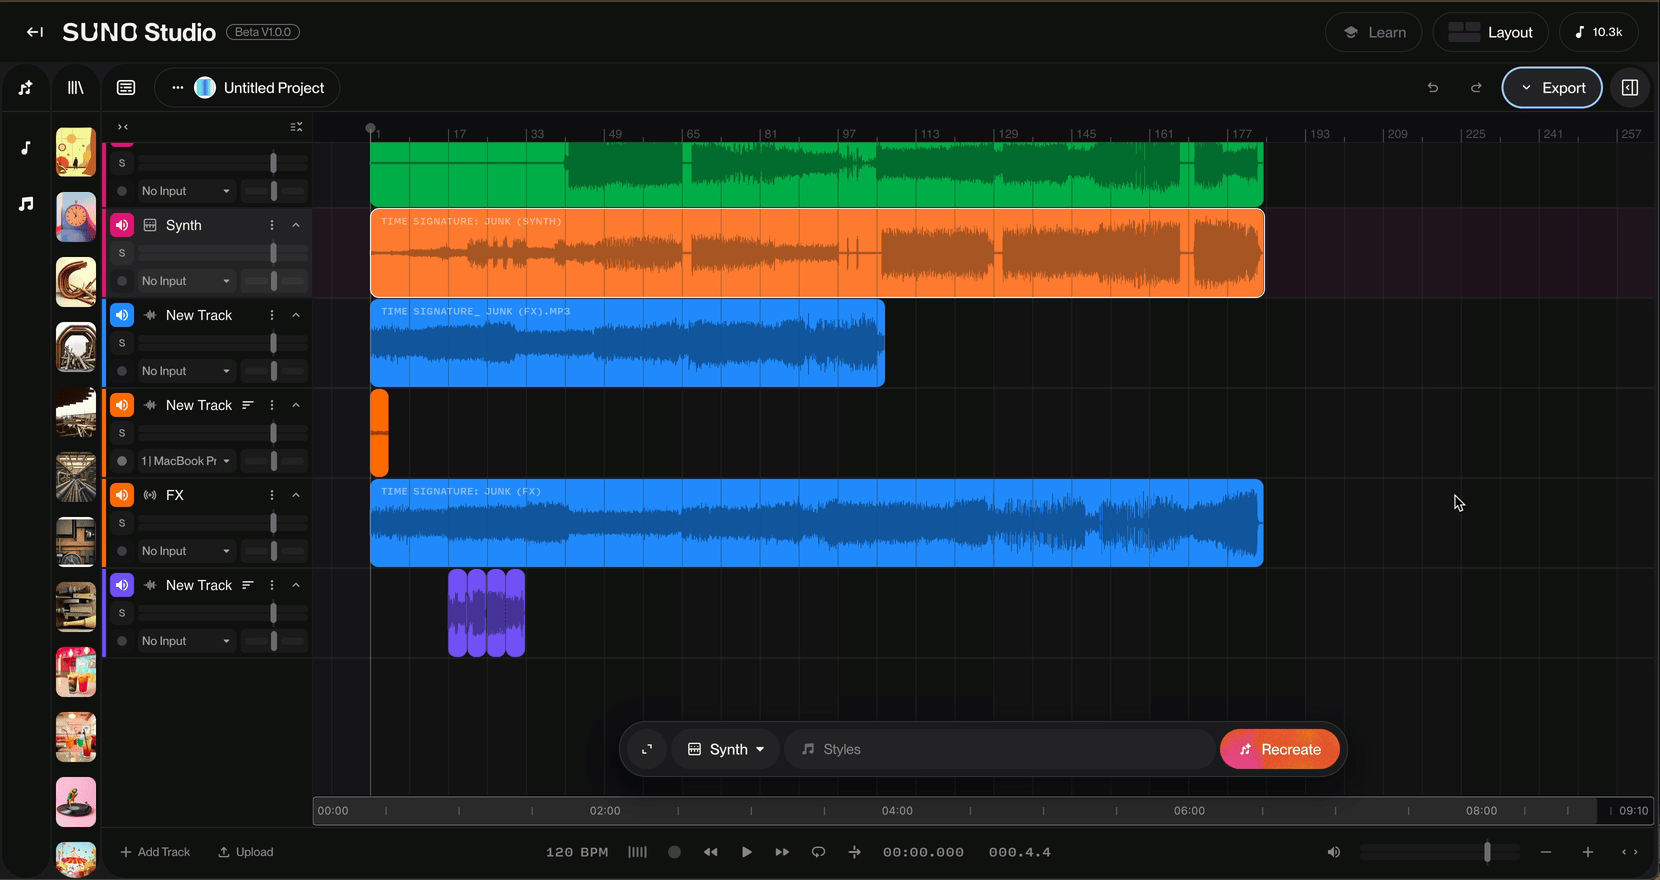
As you can see, the Details panel opens on the far right in Studio once you select a song from the Library.
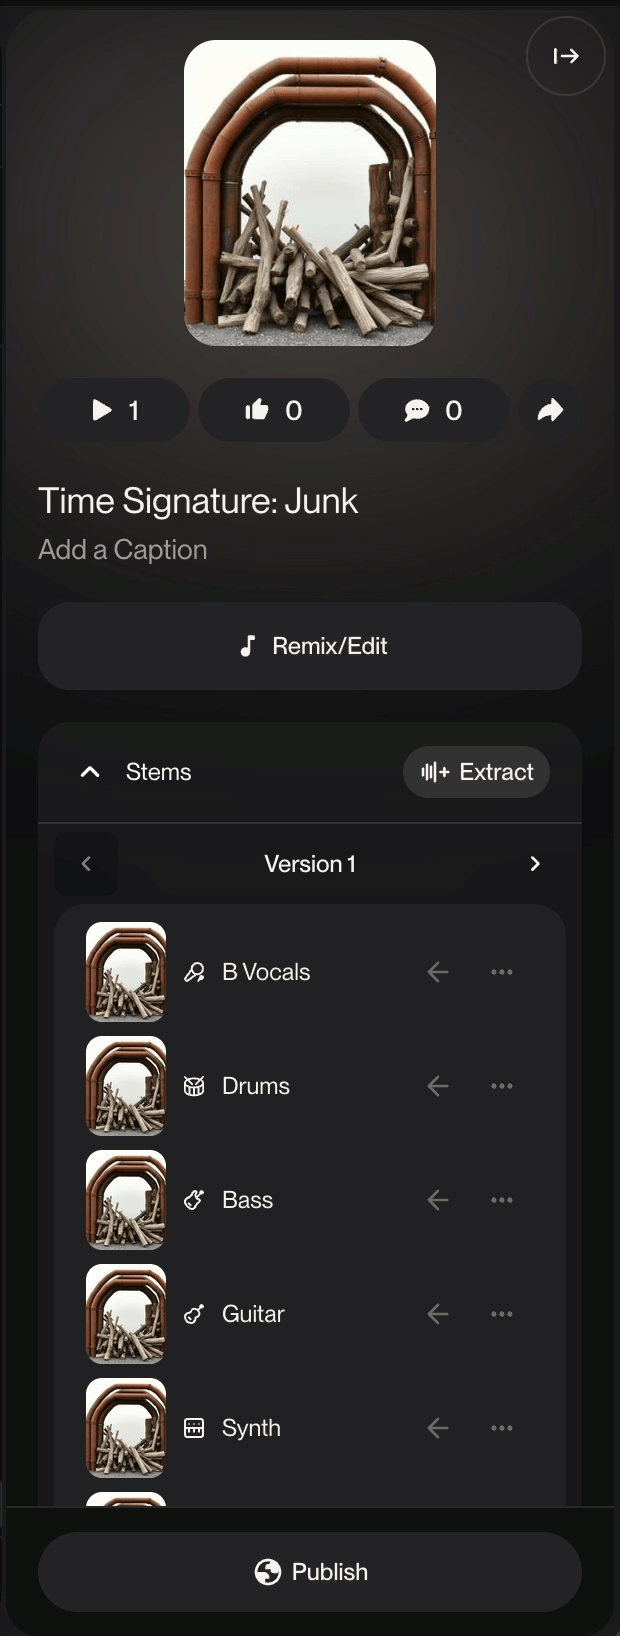
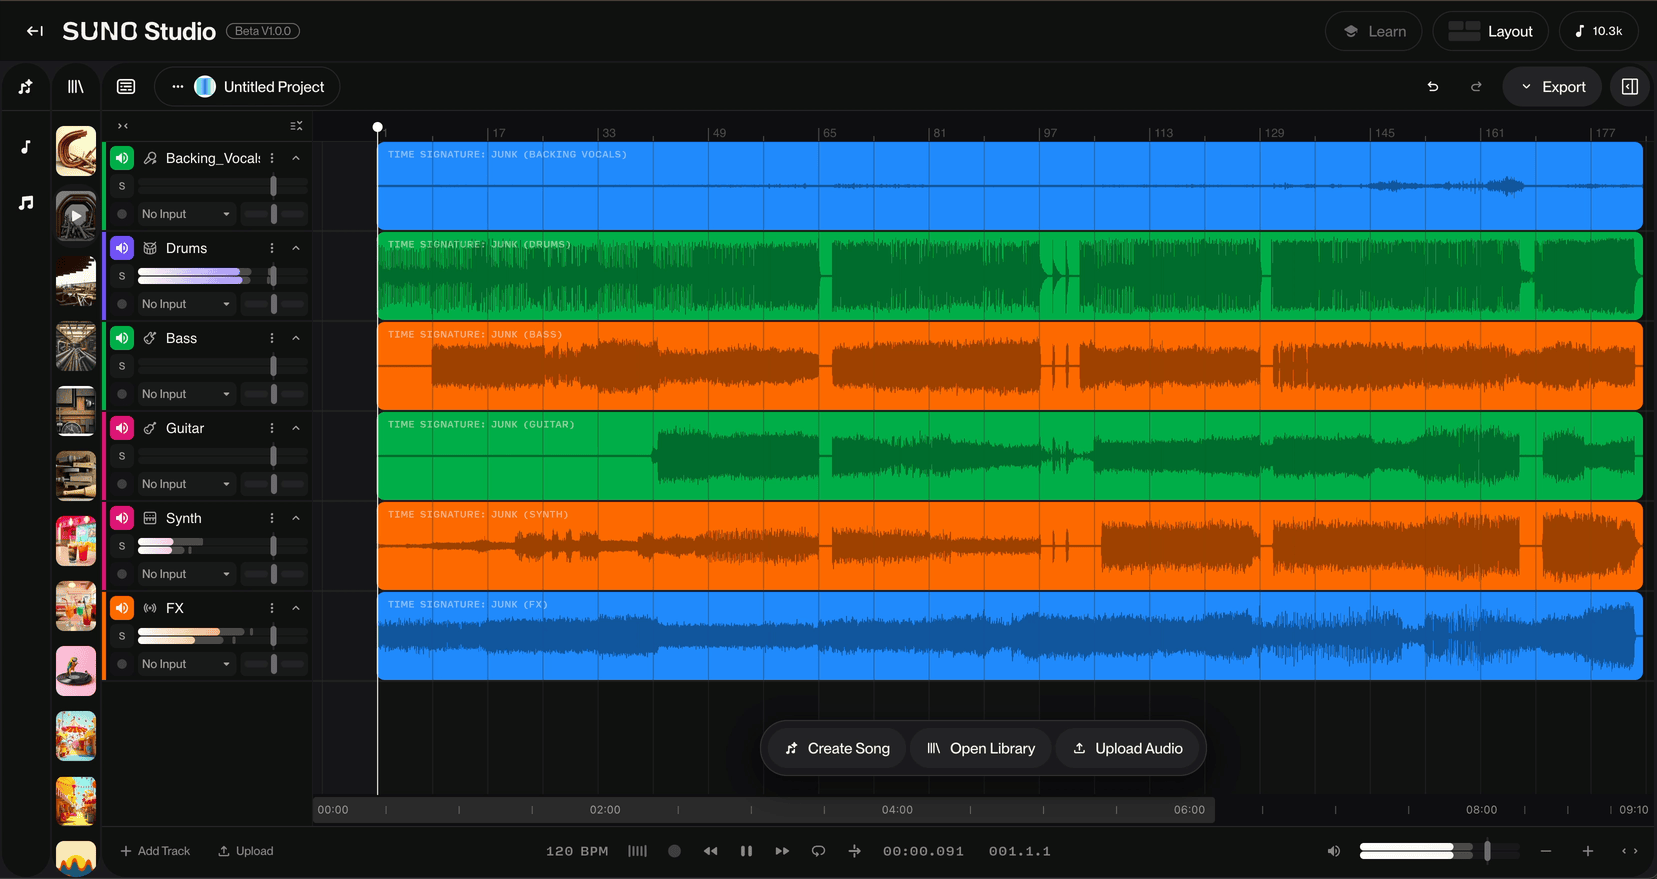
In the Details panel, you can click Remix/Edit to access the editing options. To add specific Stems to the Timeline, click the arrow icons next to each stem. You can also click the three dots next to any stem's arrow to access additional options for using that stem in different ways on Suno. For this example, we'll add all of the stems from our song to the Timeline by scrolling to the bottom of the Stems section and clicking Insert All.
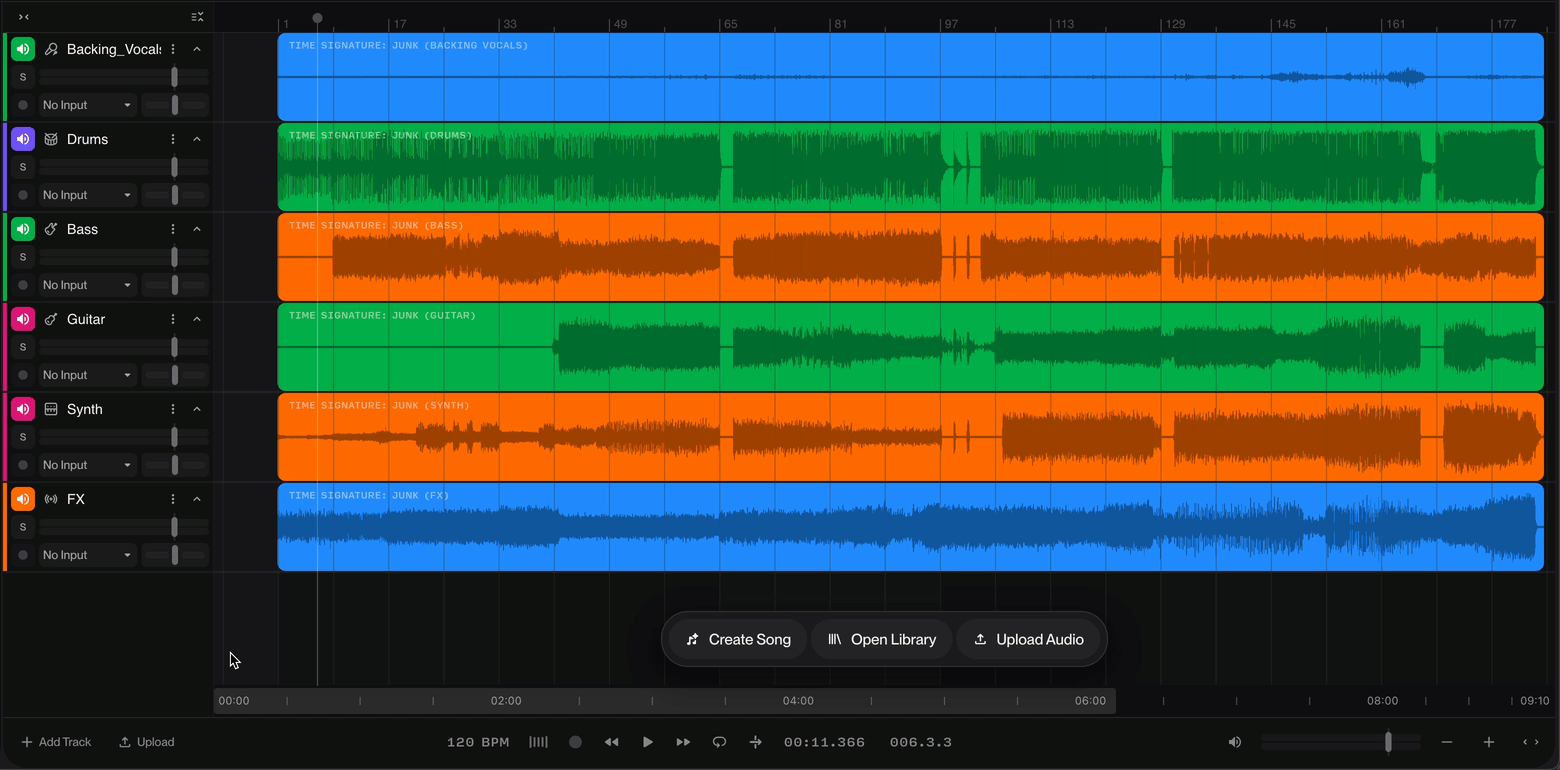
Now that we have Stems loaded onto the Timeline, lets Play our song. Hitting your spacebar will Play/Pause your song. You can also click on the Play button down on the Transport. If you'd like to read more about the different functions of Transport in Studio, click here!
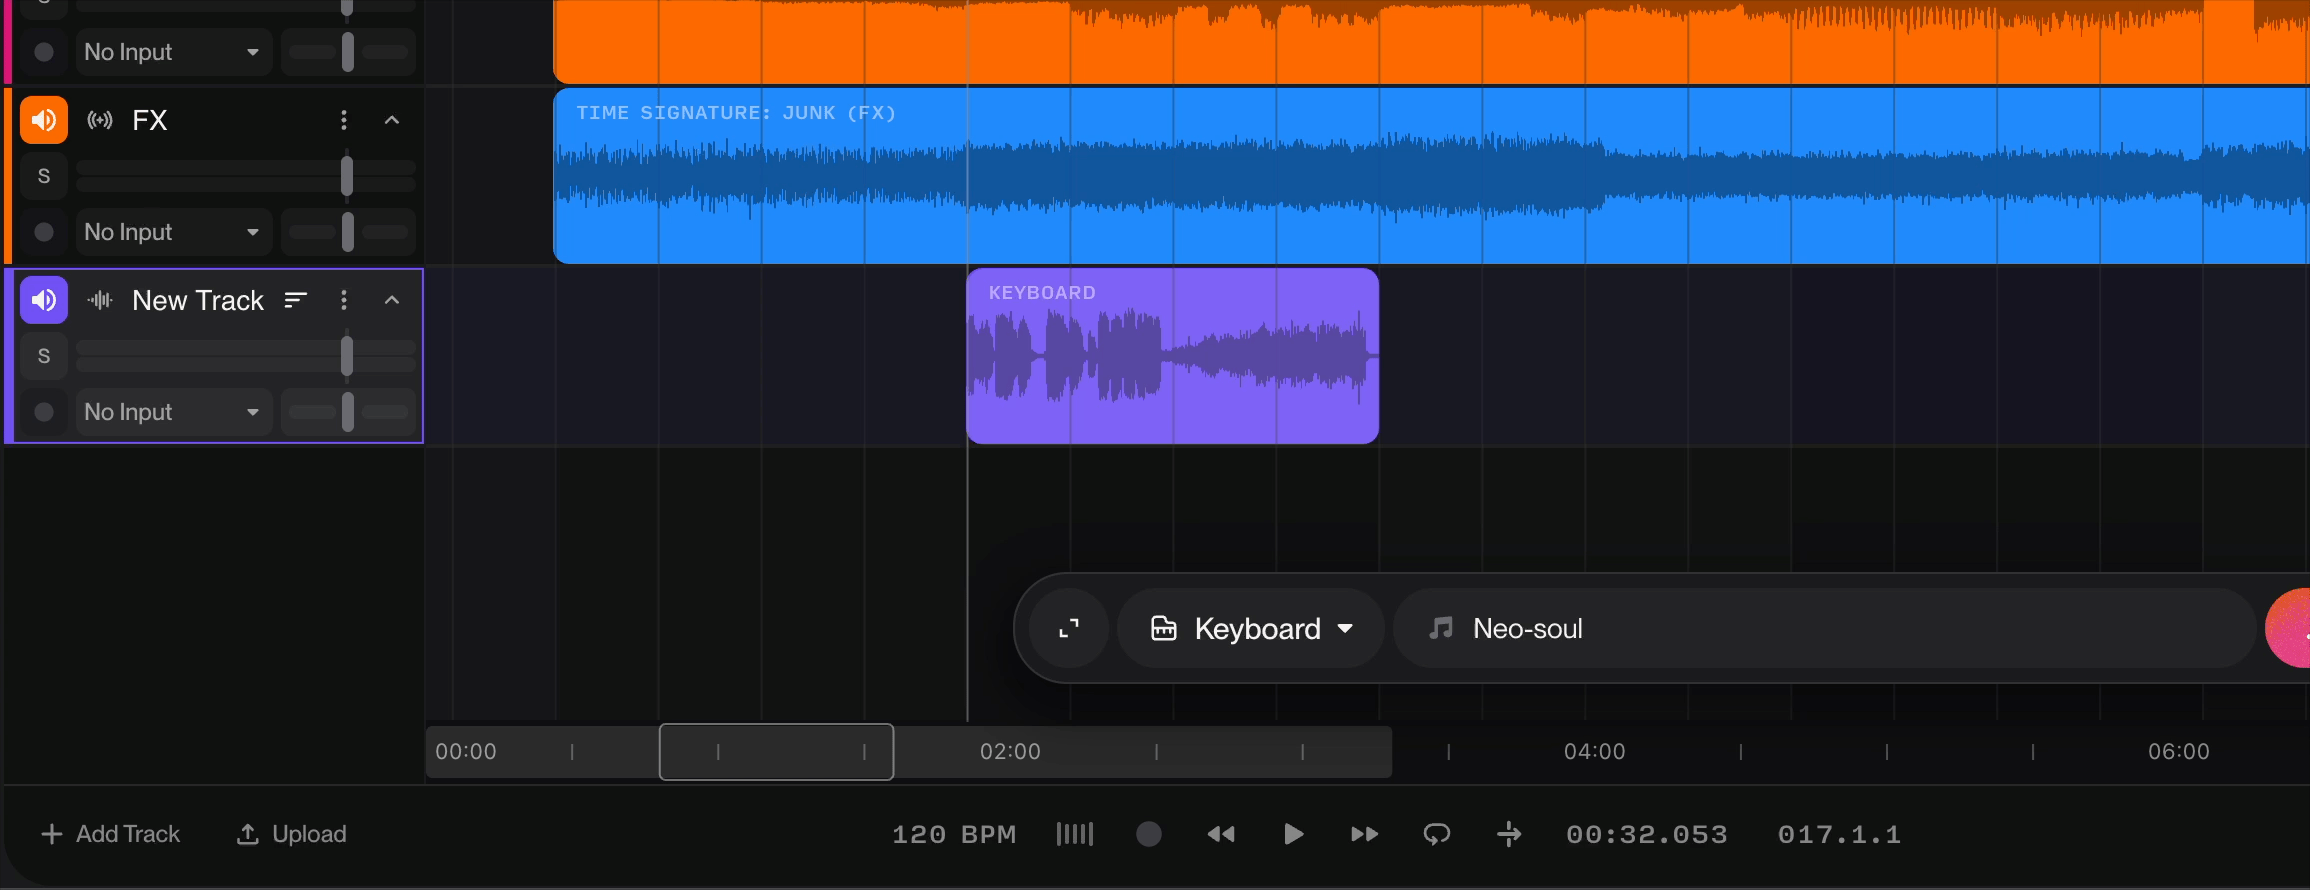
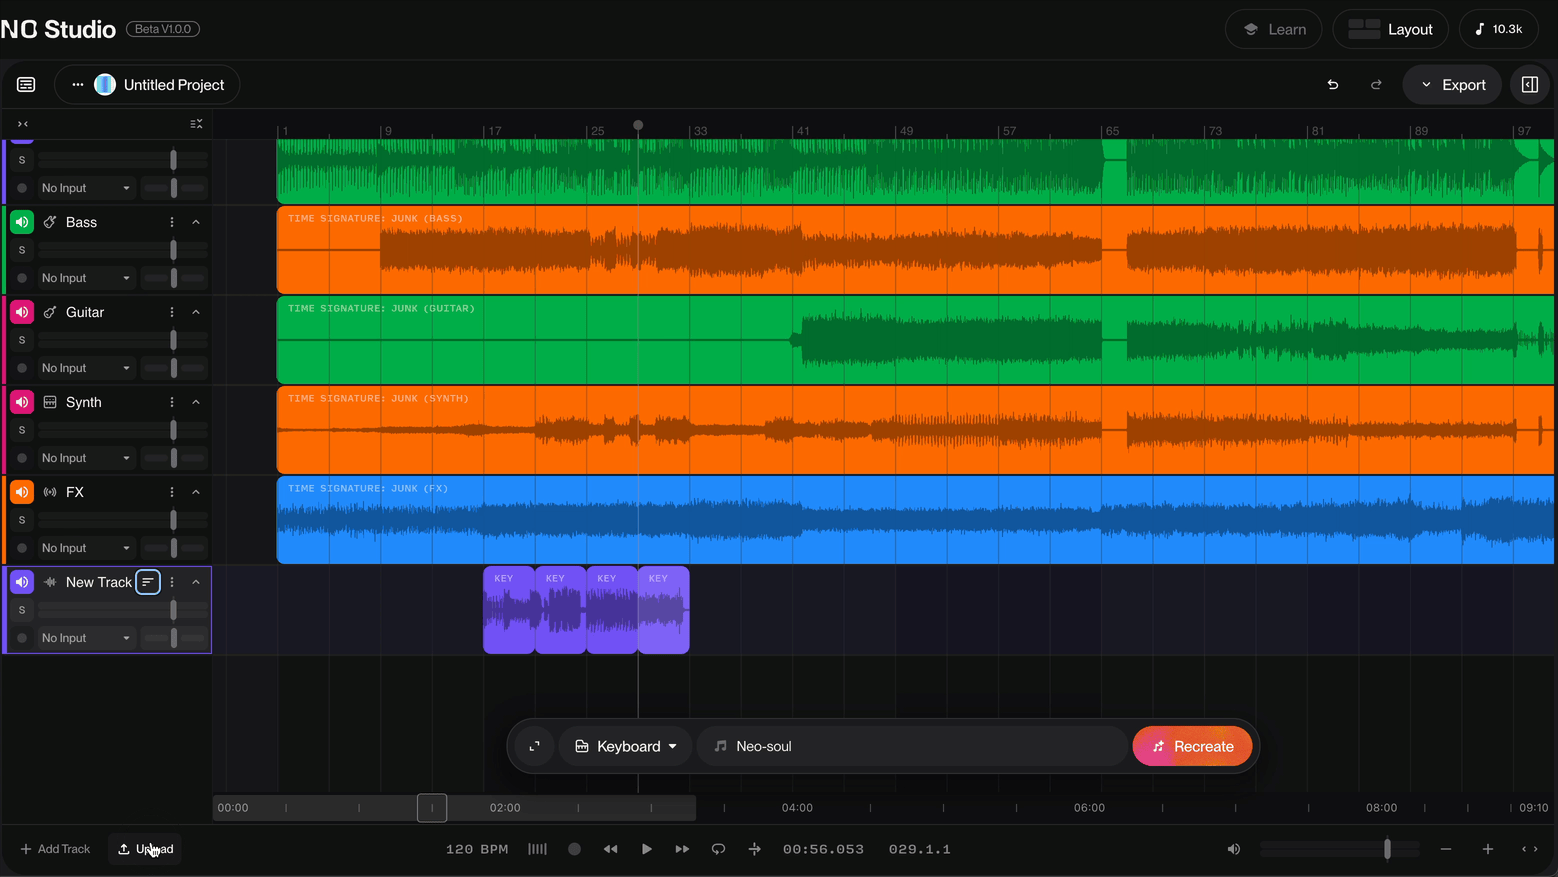
Lets add an instrument to go along with our song. Lets add a Keyboard part. To do this we will use the Context Bar and add a track. As you can see, the Context bar has changed to a Create tool. We can expand the Context Bar to access the Advanced Options that is available in Create to add details to our Keyboard addition.
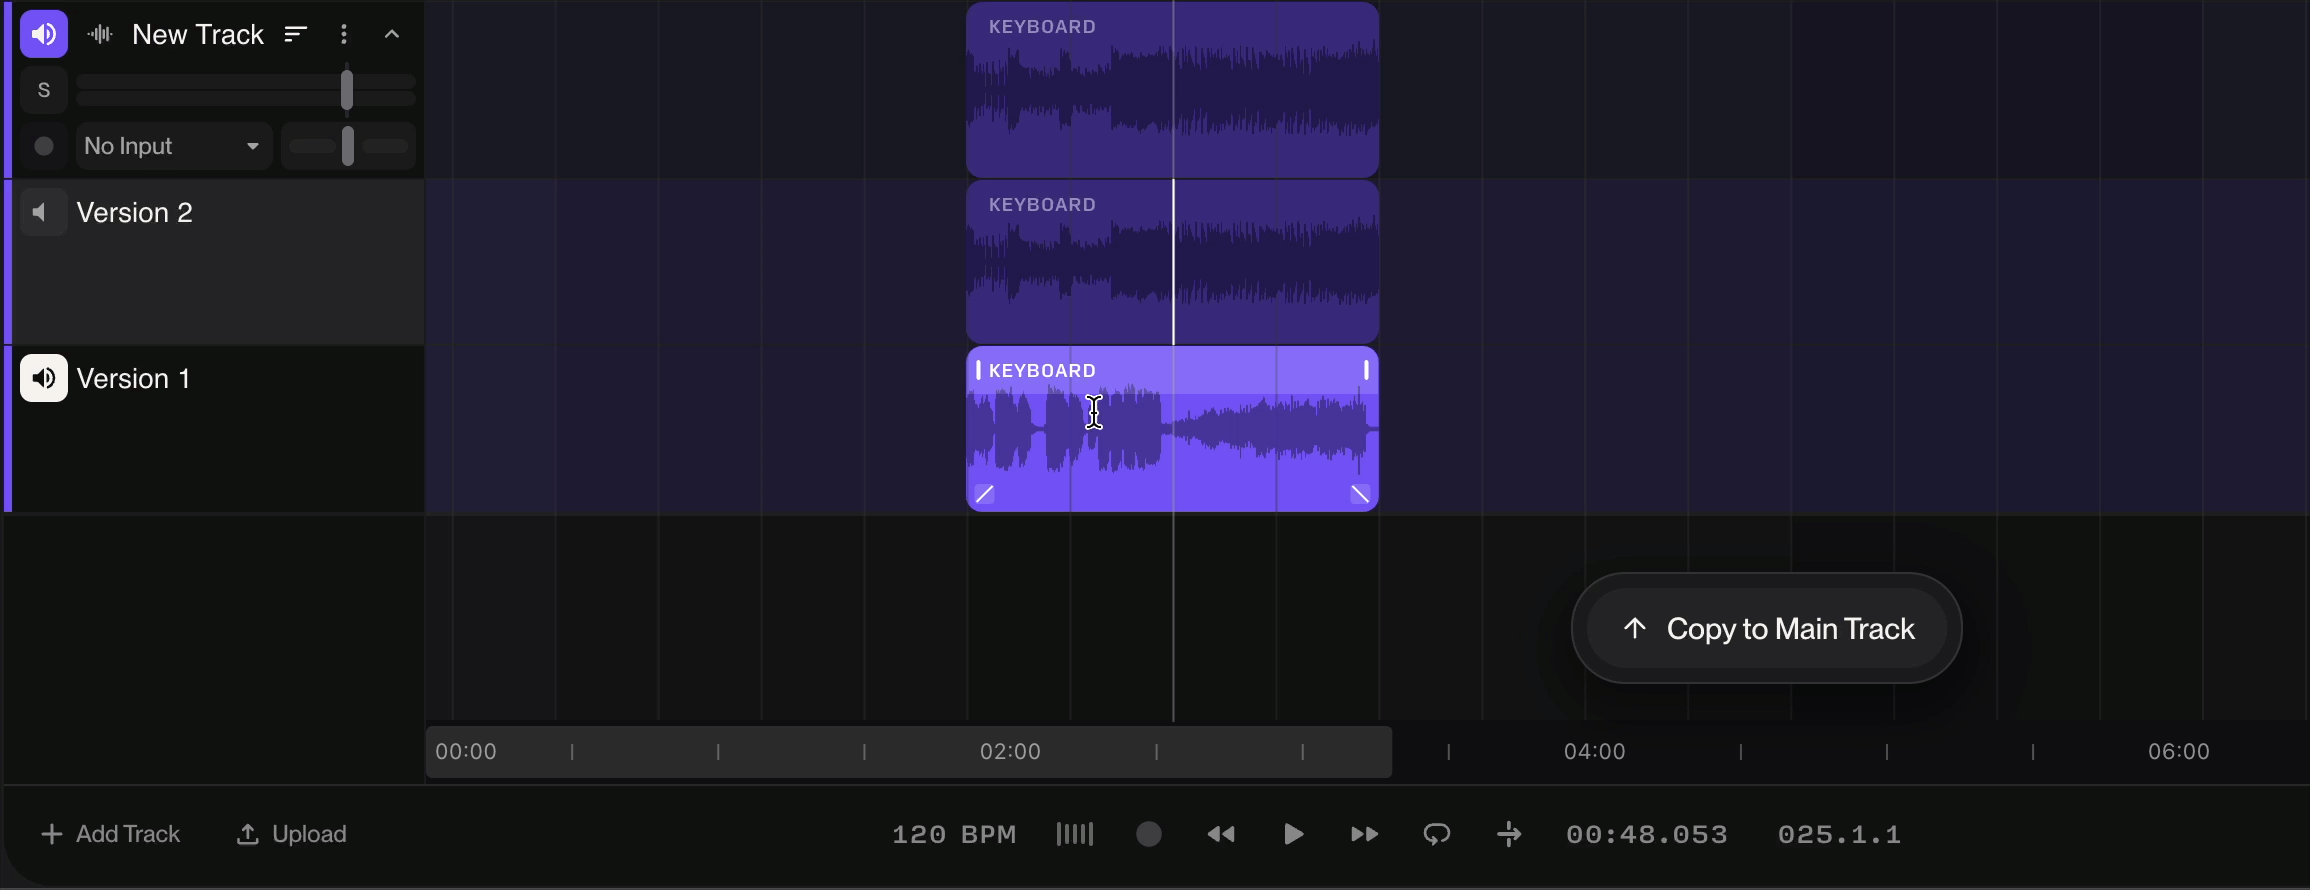
Just like making songs in Create, adding instruments in Studio will give you two generated versions in the form of what are called Take Lanes. To access Take Lanes, go to the track where you created the new section and click the dropdown menu with the column icon. Select Show Take Lanes. Version 1 will be present on the Main Track and the Take Lanes will include both Version 1 and 2. Will go over why that is in a bit.
You can audition the versions by clicking the respective Speaker icons next to each version and hitting Play. Once you've decided which version you'd like to use on the main track, simply select Copy to Main Track.
With the two versions of your creation in the Take Lanes, you can perform a style of editing called Comping. Select different portions of each version that you like and combine them into one new section in the Timeline on the Main Track. Once you've decided on a single version or your comped edits, click Copy to Main Track.
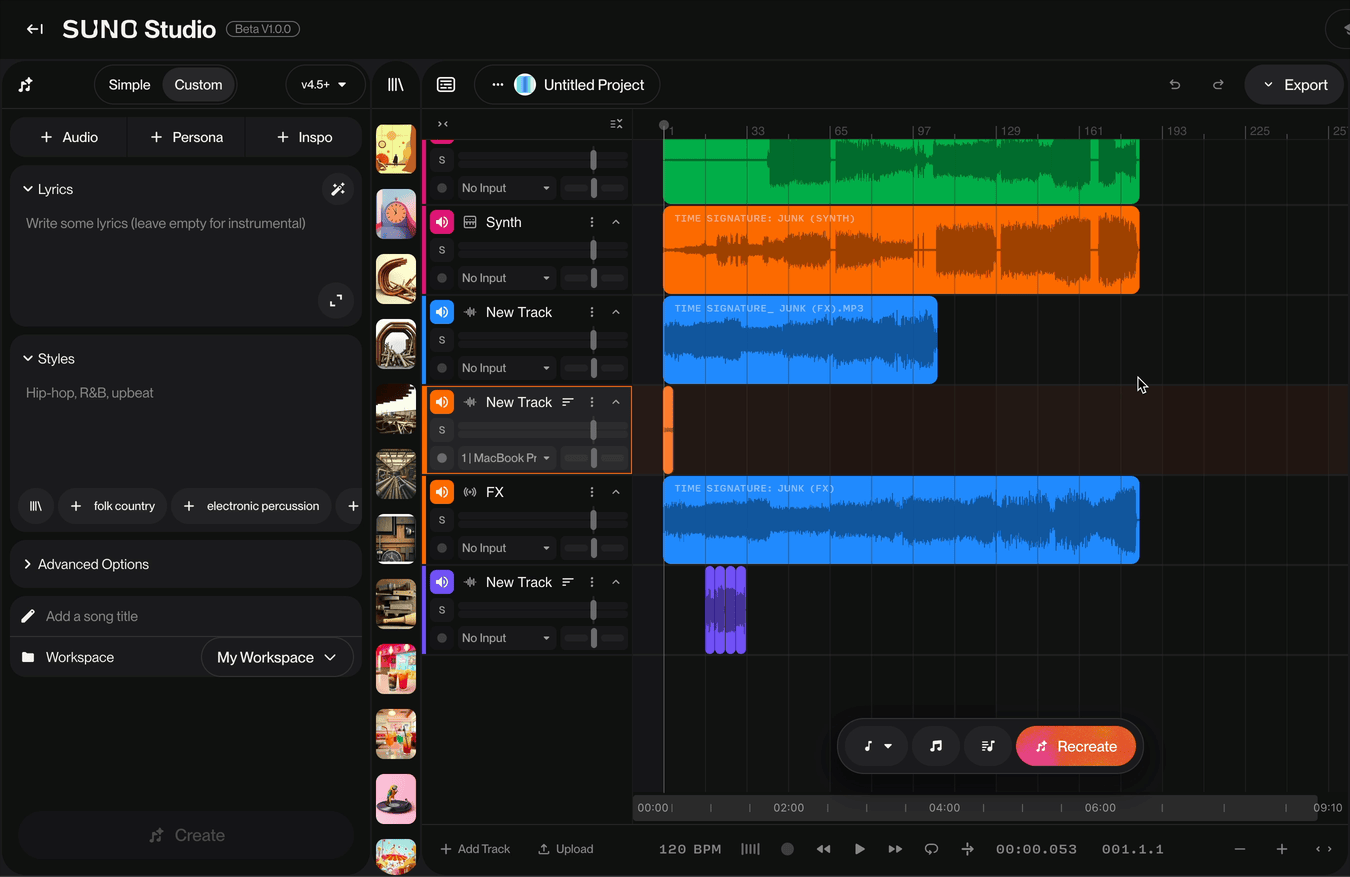
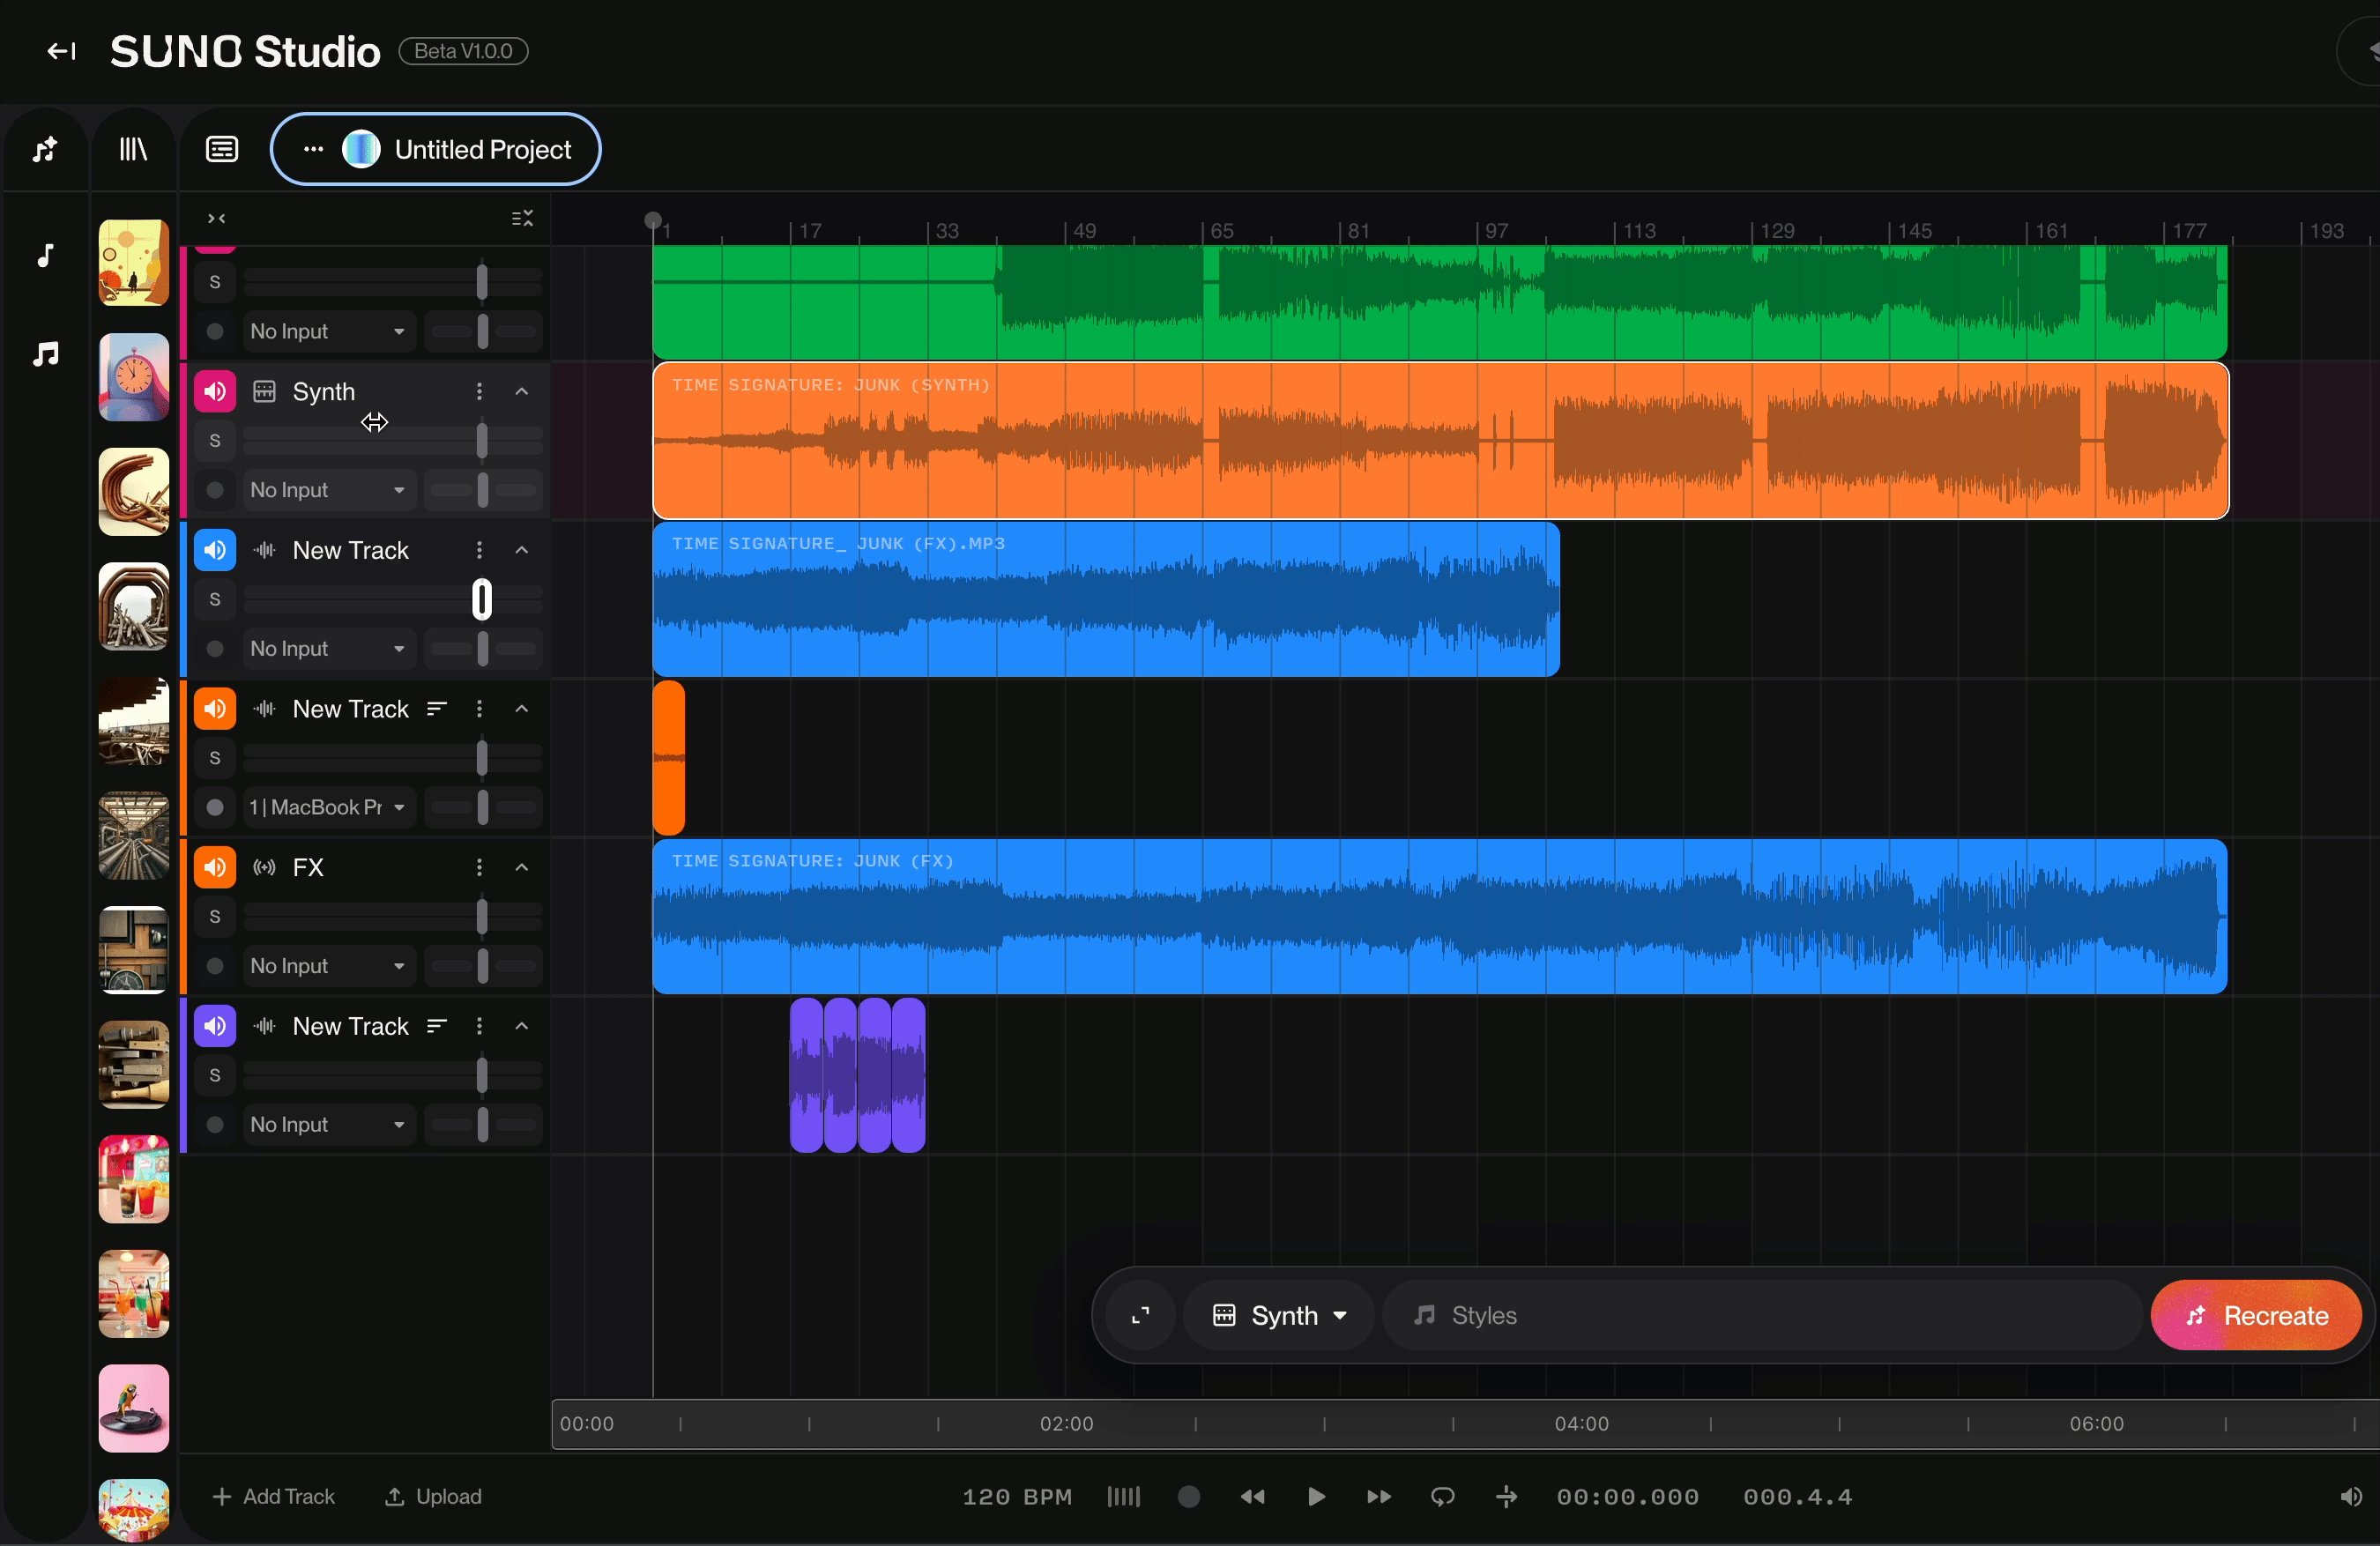
Studio allows you to Upload audio as well. Simply scroll down to the Transport and click Upload to upload audio from your device.
And just like with Create, you can record audio directly into Studio to keep as is or Remix the recorded audio as a new section. Below are the steps on how to record audio in Studio.
Add a new track if you don't have an audio track on the Timeline
Select where on the timeline you'd like to record your audio
Arm your track by pressing the Red Record button on the track
Press Record on the Transport at the bottom of the Timeline page
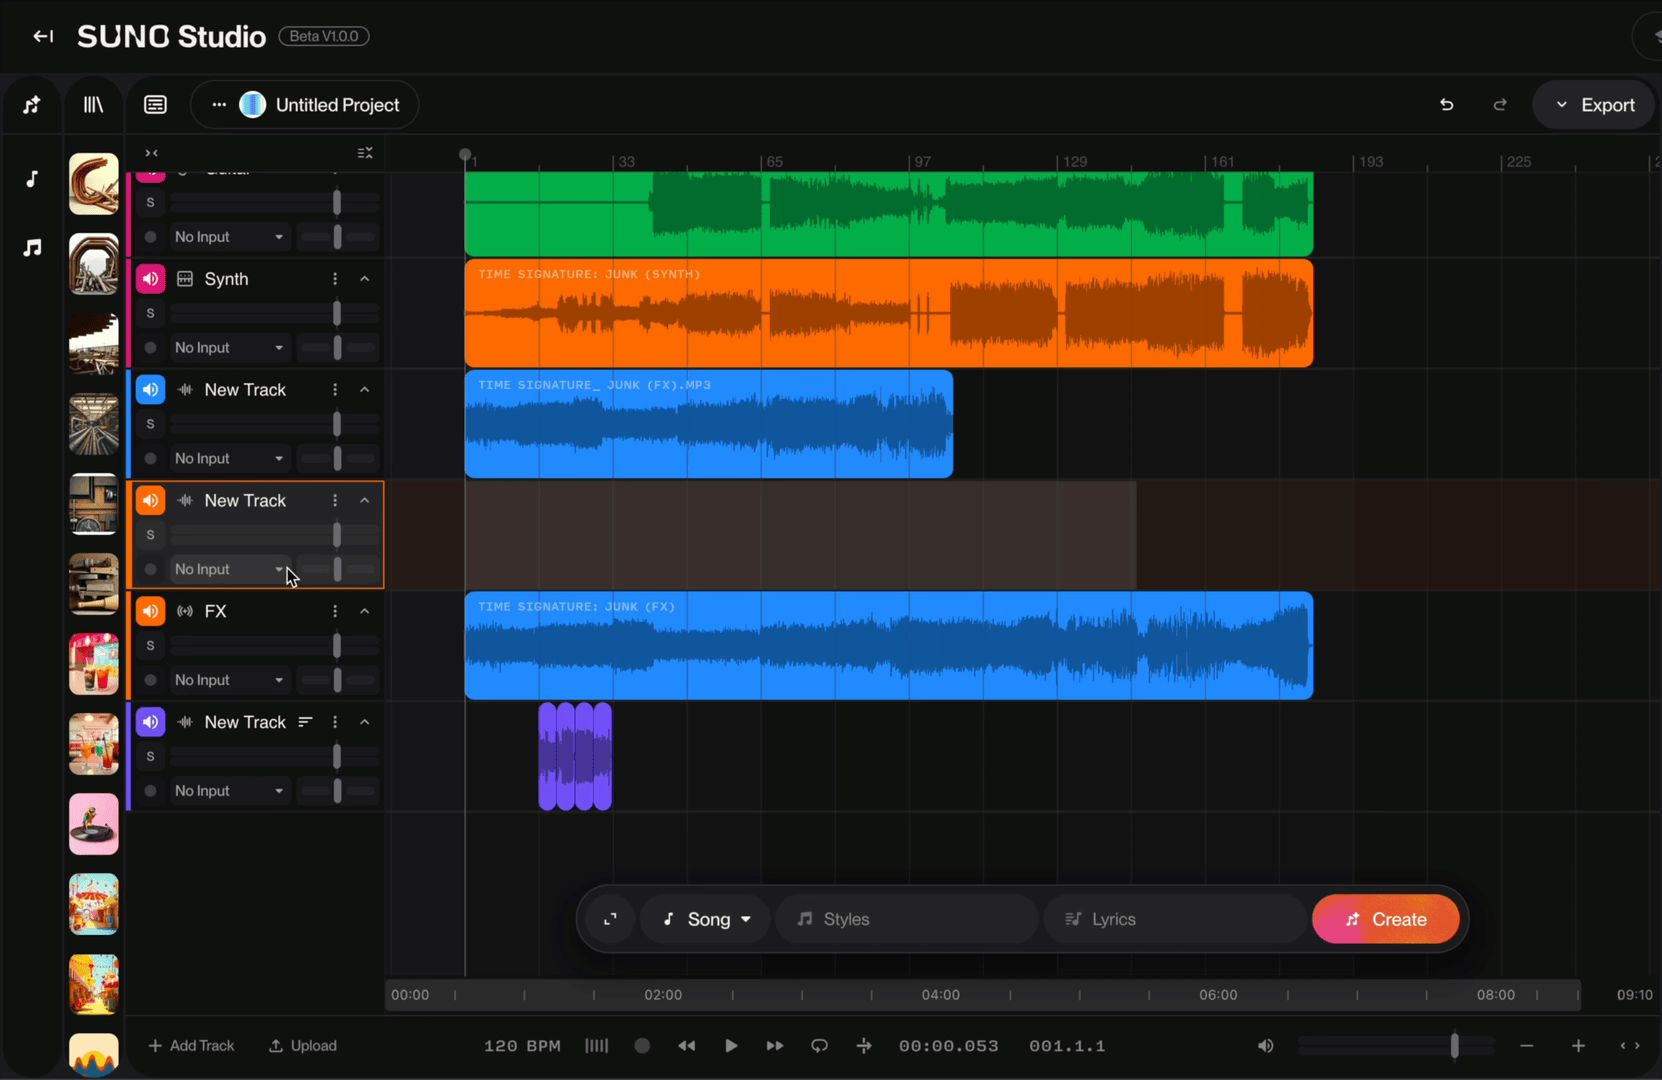
You can also create new songs by clicking and dragging a region from the Timeline into the Create panel. This is a great technique to utilize if you're curious about specific parts of your song being used to Create entirely new songs that will be saved to your Library.
You may have noticed that there isn't a save button like you would typically see in other DAWs. That's because Studio automatically saves your projects, ensuring your progress never gets lost. To access the saved Versions of your project, click on the Project Menu (where your project title appears), then scroll down to Versions, where you'll see time-stamped saves of your project that you can access and edit further.
Once you're happy with your song after mixing, editing, or adding more instruments and parts, you're ready to Export your final creation.
To export your song, navigate to the top right corner above the Timeline and click the Export button. A dropdown menu will appear with three export options: Full Song, which exports your entire track from start to finish and saves it to your Suno Library; Selected Time Range, which exports only a specific section you've highlighted in the Timeline to your Suno Library; and Multitracks, which downloads individual tracks/stems as separate files to your device.
To learn more Studio tips, head on over to the Studio section of our Knowledge Base!