
MIDI in Studio
*Note: Safari does not currently support web MIDI. We suggest using Google Chrome when using Suno Studio.
MIDI Tracks
MIDI tracks live on the timeline right next to your audio tracks. The difference is what's inside: their clips hold notes instead of recorded sound. Those notes get sent to whatever instrument is loaded in the track's effects rack, which turns them into audio.
Everything you can do with an audio track works here too: set a color, mute and solo, arm for recording, use take lanes, duplicate and reorder.
Every new MIDI track ships with the Wavetable synth already loaded. Tap a musical typing key and you'll hear it instantly, no setup needed.
Create a MIDI track in Studio
Click + Track in the footer below your last track, or press Shift+T.
In the "Add a track" modal, pick MIDI. Click it, use the arrow keys and Enter, or just press M.
Your new track appears with a basic synth patch ready to go. (You can choose another preset to change the sound.)
Open the playable keyboard (Cmd+K) or plug in a MIDI controller and start playing.
Add notes by hand
Select a region of blank space on the MIDI track and click + Add Midi Clip to create a clip.
Double-click the empty clip header to open the piano roll.
Double-click inside the piano roll to place notes.
Piano Roll
The piano roll is where you edit the notes inside a MIDI clip. It's a grid: a piano keyboard runs down the left side to show pitch, and time flows left to right in bars and beats. Each note appears as a block you can place, stretch and move, giving you precise control over your melodies, chords and rhythms.
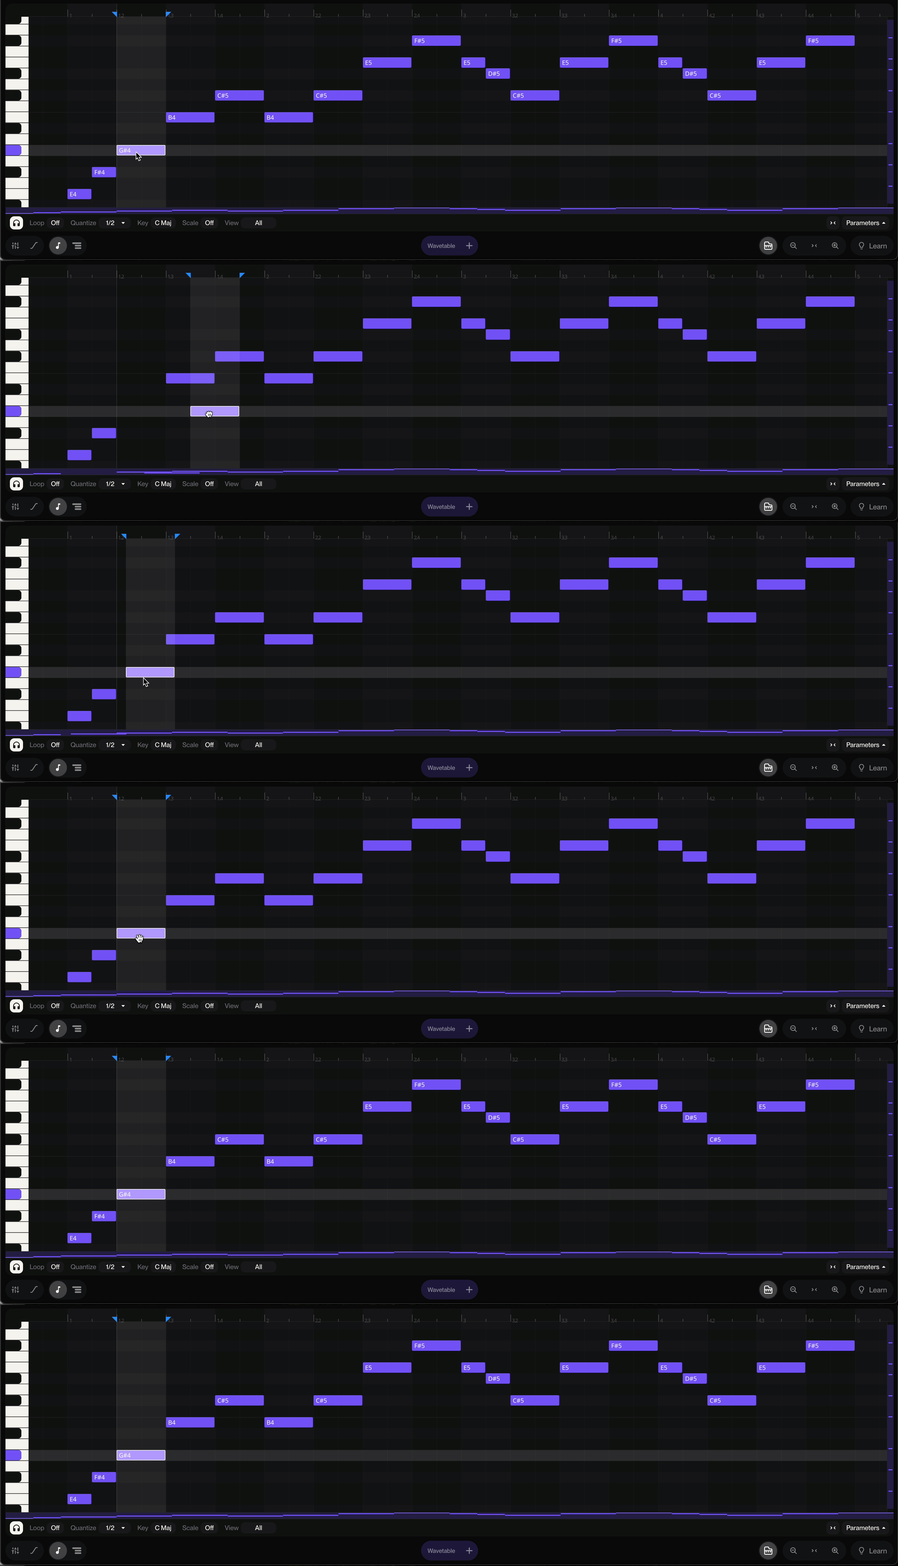
How to use it
Double-click any MIDI clip.
Draw notes. Switch to draw pointer mode (hold Alt to flip between select and draw) or double-click anywhere to place a note.
Edit notes. Drag notes to move them, drag their edges to resize.
Quantize. Select some notes and press Shift+Q to snap them to the grid.
Adjust velocities. Click the Automation toggle in the lower right to open the velocity panel, then drag the stalks in the lane below the grid to change how hard each note hits.
Stay in key. Turn on scale assist (the key/scale control in the clip footer) to highlight the rows that belong to your key.
Musical Typing and the Playable Keyboard
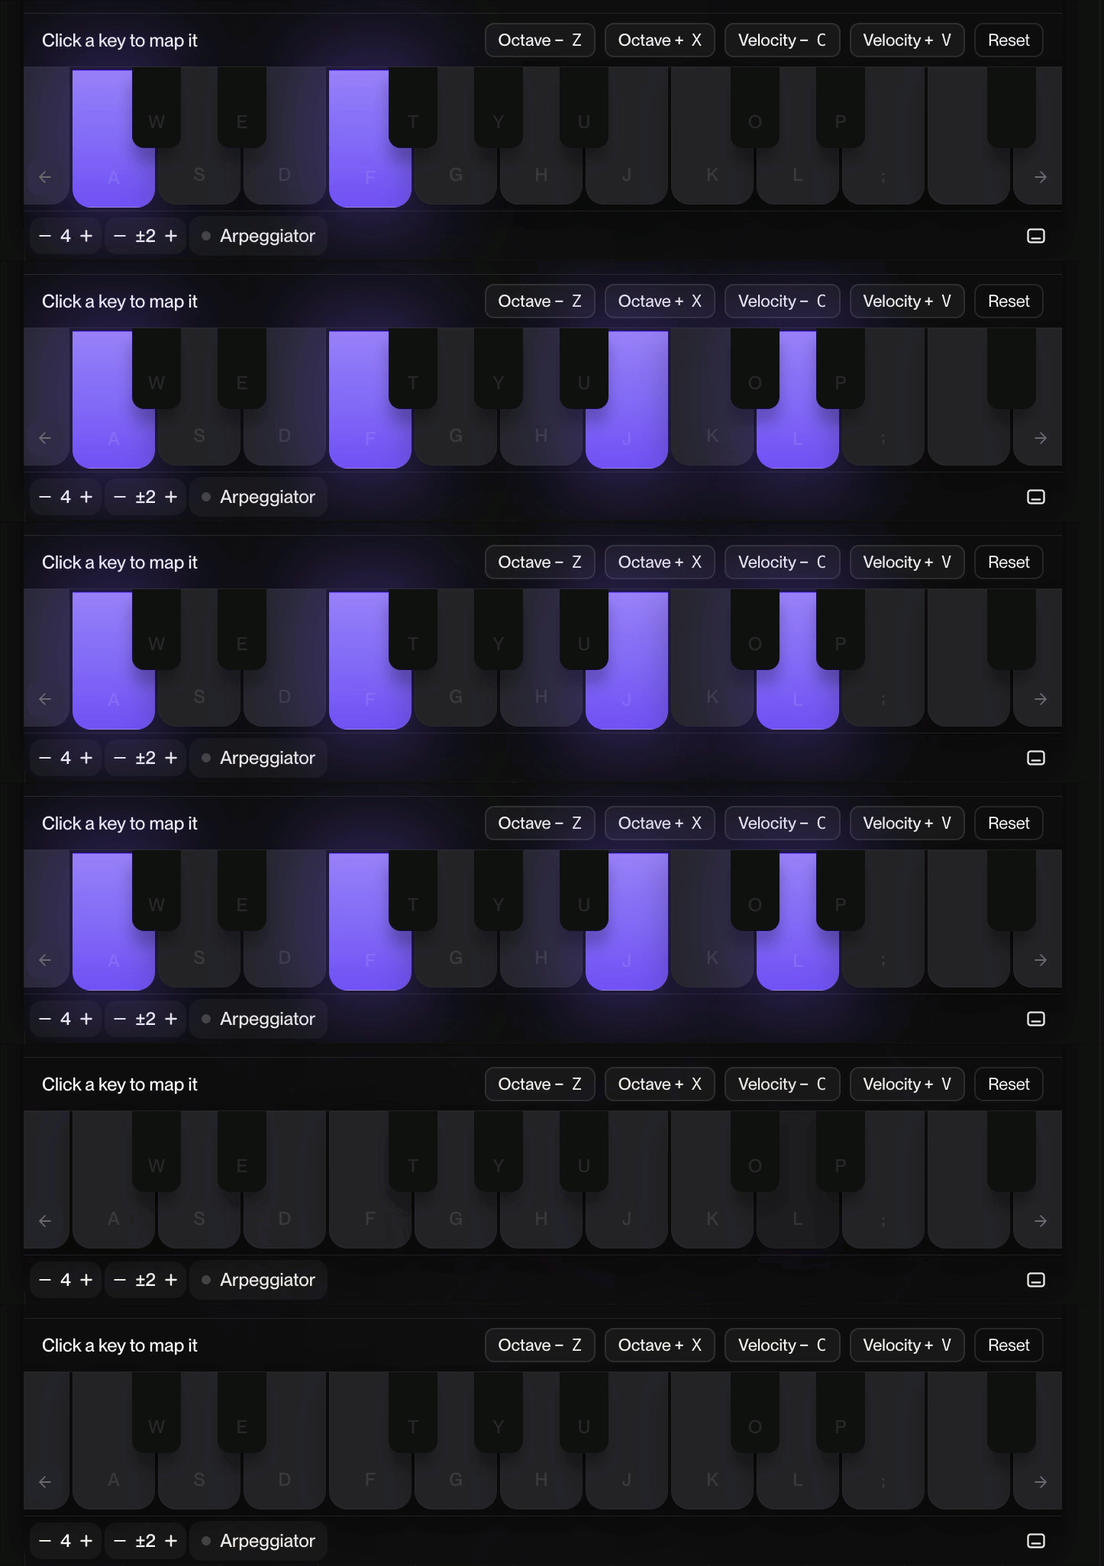
No MIDI controller? No problem. Musical typing turns your computer keyboard into one. Studio uses the standard DAW homerow layout, which maps your keys to a piano:
A through ; play the white keys.
W, E, T, Y, U, O, P play the black keys.
Z and X shift the octave down and up.
C and V lower and raise velocity.
Whatever you play routes to the armed or focused MIDI track, so you can jam live and record on the spot.
Playable modes and pattern tools
The floating Synth panel builds on raw typing with four playable modes plus pattern tools:
Keyboard. The classic homerow piano.
Arpeggiator: Play complex rhythmic patterns with one finger.
Any chord you play can be dragged straight onto the timeline, where it lands as a MIDI clip.
How to use it
Focus or arm a MIDI track.
Press Cmd+K or click the keyboard icon at the bottom right to open the playable keyboard.
Make sure an instrument is loaded on the track.
Play with your typing keyboard. Use Z/X to move octaves and C/V to adjust velocity.
To capture what you play, arm the track and hit record (Shift+R).
External MIDI Input, MIDI Learn and Transport Control
Hardware MIDI controllers connect through the browser's Web MIDI API, so there are no drivers to install. Note on/off messages play and record into any armed MIDI track, and a per-track input selector lets you choose which device feeds which track.
Beyond playing notes, your controller can do three more things:
MIDI Learn: Map the knobs and faders on your hardware to controls in Studio. Right-click any plugin or instrument knob, choose MIDI Learn and move a hardware knob. The binding sticks and saves with the project, and a single physical knob can drive multiple parameters at once.
Transport control: Run playback from your controller's buttons. Unmapped CCs 115 to 118 default to play, stop, record and loop (the Novation convention), and Start/Continue/Stop messages from clock-master controllers are respected too.
MIDI recording: Notes are captured into takes, and those takes comp across loop passes just like audio takes do.
How to use it
Plug in your controller and grant the browser MIDI permission when prompted.
Pick the device in the MIDI track's input selector, found in the track header.
Play. The track's instrument responds in real time. Arm the track and hit record to capture your performance.
To bind a knob, right-click a parameter, choose MIDI Learn and move the hardware control you want to use.
If your controller sends CC 115 to 118, its transport buttons drive play, stop, record and loop automatically.
What is MIDI?
MIDI is an acronym that stands for Musical Instrument Digital Interface. A technical standard enabling electronic instruments and computers to communicate that has been around since 1983 and is still heavily used today including in Suno Studio!
How does MIDI work?
Even though MIDI is instrumental in the music production process; MIDI does not actually make sound. Rather it sends over information called MIDI Messages. Simply put, these MIDI messages are sent over to a device that receives those messages to command what that device should do like a keyboard controller playing a hardware synthesizer, a drum machine syncing tempo to a looper, or a computer sending note data to an external sound module.
What is a MIDI controller?
As mentioned above, MIDI messages being sent over to communicate with hardware devices is still key to modern music production. A MIDI controller in the modern production era is most often used as a MIDI controller being connected to a computer via USB; with that controller sending information to a digital audio workstation. Different types of MIDI controllers include traditional piano style MIDI keyboards, DJ Controllers, Wind Controllers, Pad Controllers, and MIDI control surfaces.
Check out our YouTube tutorial on everything MIDI in Studio here!